When you think about tie-dye, you probably think about brilliant swirls of vibrant colors. While shades of bright orange, blue, pink and green are some of the ones most commonly used when creating tie-dye shirts and other apparel, they aren’t the only option.
In fact, you can tie-dye without using any dye at all!
Technically known as “reverse dying,” using bleach to tie-dye shirts is a fun and easy twist on the classic technique. One of the great things about this technique is that you can use it to create more subtle tie-dyed garments for those times when swirls of vibrant colors aren’t exactly appropriate. And, of course, you probably have bleach in your laundry room, so there’s no need to go out and buy a tie-dye kit. That makes this project both easy and affordable.
What are you waiting for? Let’s get started!
Gather Your Supplies
Before you fully dive into this project, you’ll want to gather up all of your supplies. You’ll need a colored blank t-shirt, bleach, water, a spray bottle and rubber bands or string. You may also want rubber gloves and plastic to protect the surface you’re working on.
If possible, it’s best to do this project outdoors. If you need to do it inside, make sure you set up all of your supplies in an area where there is adequate ventilation. Change into old clothes before you get started so you won’t have to worry about destroying what you’re wearing when you start spraying bleach.

Prepare Your Shirt
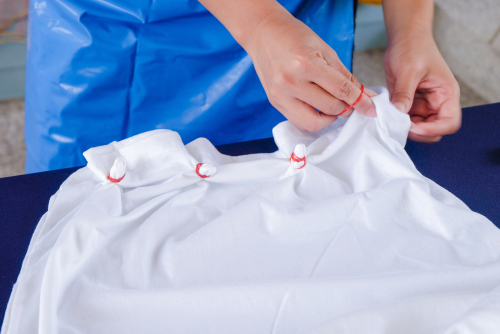
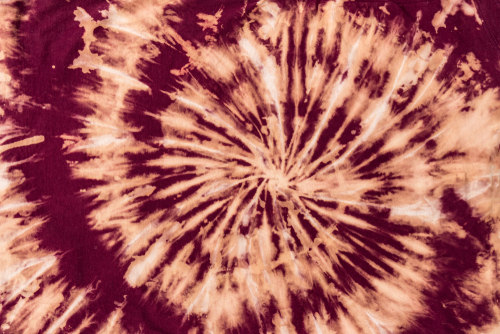
Lay your shirt out flat on the surface you are working on. Smooth it out as much as possible to remove any wrinkles. If you would like to create the traditional spiral design, pinch the fabric in the middle and then turn your hand slowly to twist the fabric into a spiral shape. You might need to adjust the folds as you go to keep the fabric neat. If you plan on flipping the shirt over to dye both sides, secure the spiral using string or rubber bands. If you only plan on bleaching one side, you can skip this step.
You don’t have to use the spiral pattern. Nearly any pattern that works well for traditional tie-dye works well for reverse tie-dye, too. Feel free to use a tried-and-true tie-dye technique or experiment with coming up with your own design. The only limit is your own creativity and imagination.
Apply Bleach
Add one part bleach and three parts water to your spray bottle and then shake gently to mix. If the bottle has an adjustable nozzle, make sure it’s on the “spray” setting and not “stream.” Next, carefully spray the front of the shirt with the solution. Make sure you cover the entire surface with spray to ensure the best results. If you are bleaching both sides of the shirt, flip over and repeat.
Let sit for 10 to 30 minutes. Check on your shirt every few minutes to see how it’s looking. You don’t want to leave the bleach on for too long because it can damage the fabric and ruin the shirt.
Rinse
When you are satisfied that the bleach has done its job, rinse your shirt thoroughly in cold water. Next, wash it by itself in your washing machine. Do this immediately to ensure that the bleach has been completely removed and prevent it from eating through the fabric.

Optional Bonus Step: Add Color
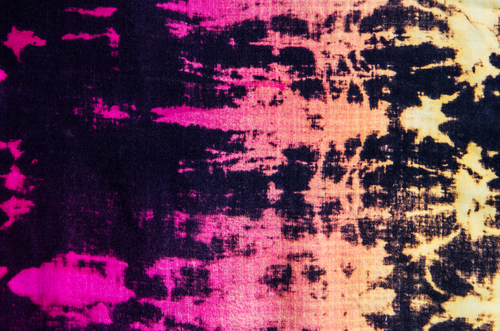
If you’d like to take your creation a step further, you can now add regular dye to the bleached parts of your shirt to create pops of color. This works especially well on black shirts that have been reverse dyed using bleach.
To add color to the bleached areas, don’t dry your shirt after washing. Instead, lay it out on a flat surface while still damp. Then, apply dye to the bleached areas. Let sit and launder according to the instructions on the dye’s packaging.
Conclusion
Tie-dyeing shirts with bleach is a fun project that’s great for kids of all ages. Just remember to supervise the little ones and help them with the bleach to avoid accidents. Whether you’re dyeing kids t-shirts and sweatshirts or working on reverse dyeing garments for adults, ShirtMax has the wholesale blank apparel you need! Shop now to view our full selection.


